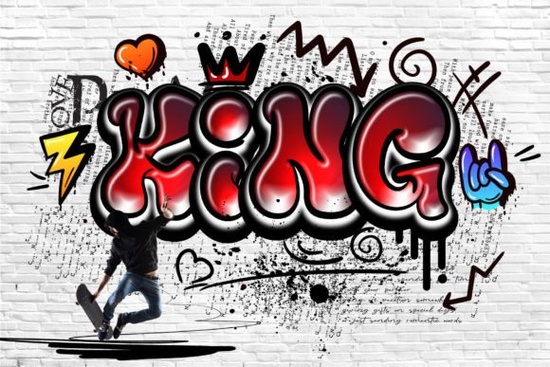
Getting the right vibe for an urban-themed project usually comes down to the typography you choose. If you want your design to look like it belongs on a brick wall, a skate deck, or a streetwear lookbook, standard serif or sans-serif choices just will not work. That is where the King Font steps in. This specific typeface brings a raw, graffiti-inspired flair to the table, mixing bold outlines with an edgy aesthetic that immediately grabs attention. Whether you are a small business owner designing merch or a hobbyist making custom decals, choosing the right lettering sets the entire tone for your work.
What makes a good street art typeface?
When designing for print-on-demand apparel or streetwear brands, readability and attitude need to balance each other. A good urban typeface should have thick, confident strokes that hold up when printed on fabric or cut from adhesive vinyl. The bold outlines found in this graffiti-inspired choice ensure the letters remain legible even from a distance. Unlike highly intricate wildstyle graffiti that can be incredibly hard to read, this style keeps the letterforms recognizable while maintaining that authentic spray-paint vibe. It gives you the rebellious energy of street art without sacrificing the commercial clarity your clients or customers need.
Where should you use edgy display typography?
This kind of lettering works best when you need to make a loud visual statement. Think about concert posters, skate shop signage, energy drink labels, or graphic tees aimed at a younger demographic. If you are browsing for more urban display options to build out a larger streetwear collection, checking out similar street-style categories can give you plenty of variety for future drops.
For crafters making vinyl decals for water bottles, car windows, or laptop lids, the thick lines mean your cutting machine will not struggle with tiny, fragile details. It is also a fantastic choice for YouTube thumbnails or Twitch overlays where you need text that pops against busy, colorful backgrounds. Of course, not every project needs an aggressive edge. If your client wants a totally different mood, you might pivot to heavier tropical lettering for a summer surf brand, or groove out with retro curved layouts for a vintage seventies aesthetic.
How do you pair graffiti fonts with other typefaces?
Pairing an aggressive, highly stylized font requires a careful, restrained approach. You want your secondary text to support the main headline without competing for attention or creating a messy layout.
- Use simple sans-serifs for body copy: A clean, geometric sans-serif grounds the design and makes smaller text easy to read. Let the graffiti font do all the heavy lifting.
- Try brush-style duo combinations: If you want to keep the hand-drawn feel but need something softer for subheadings, a modern brush pair works beautifully to bridge the gap between wild and tame.
- Avoid other highly decorative fonts: Mixing two loud styles usually creates visual clutter. If you need a festive but clean look for a seasonal project, simpler novelty styles are a much safer bet for your secondary text.
What are the best practices for printing bold fonts?
Getting the design right on screen is only half the battle. When you send your files to a commercial printer or cut them on a home vinyl plotter, keep these technical details in mind to avoid costly mistakes:
- Convert text to outlines: Always expand your typography in your vector software before exporting. This prevents missing font errors at the print shop and ensures your bold strokes stay exactly as you designed them.
- Check the kerning manually: Display typefaces often need manual kerning adjustments. Make sure the spacing between letters looks visually even, especially around the bold, overlapping strokes that might create awkward dark spots.
- Mind the bleed area: If your text goes to the edge of a poster, sticker, or apparel tag, extend the artwork slightly past the cut line to avoid unprinted white borders.
- Test on scrap material: If you are using a Cricut or Silhouette machine, do a test cut on scrap vinyl to ensure the weeding process will not tear the thick, connected letters.
Final steps before exporting your design
Before you finalize your next urban design project, run through this quick checklist to ensure your typography is fully ready for production:
- Verify that all text layers are converted to vector paths or flattened properly.
- Double-check the contrast between your bold lettering and the background color to guarantee readability.
- Print a small paper test to ensure the thinnest parts of the outline do not get lost in the ink spread.
- Confirm your file is set to the correct color profile, using CMYK for physical prints and RGB for digital screens.
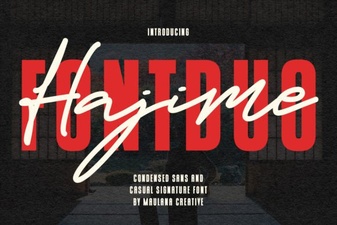 Hajime Font Duo for Modern Web Design Projects
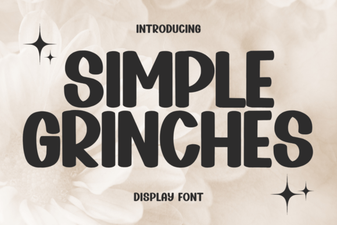 Simple Grinch Fonts for Your Holiday Projects
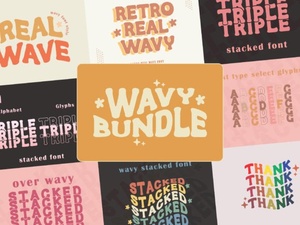 Design Ideas for a Wavy Stacked Font Style
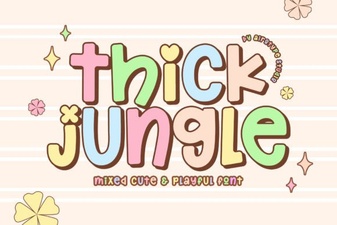 Fonts for Projects with Jungle-Themed Design
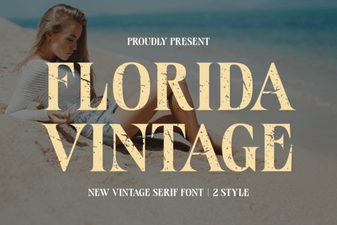 Vintage Florida Fonts for Your Creative Projects
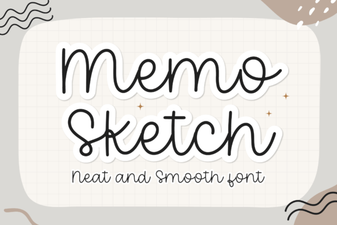 Memo Sketch Font for Creative Design Projects